Setting Up Your Workspace
Creating Your Workspace
When you first sign up for Conference Hero, you'll be prompted to create a workspace. Your workspace is the central hub where your entire team collaborates on conference planning and execution.
Step 1: Name Your Workspace
Choose a name that represents your team or organization (e.g., "Acme Marketing" or "Revenue Team"). You can change this later in Workspace Settings.
Step 2: Set Your Timezone
Select your primary timezone. This affects how dates and deadlines are displayed across the platform for all team members.
Inviting Team Members
Conference Hero is built for teams. Here's how to get your colleagues onboard:
Navigate to Settings (in the dashboard sidebar)→ Workspace → Team Members
Click Invite Member
Enter their email address and select a role (Admin or Member) and click Create Invite
They'll receive an invitation email with a link to join
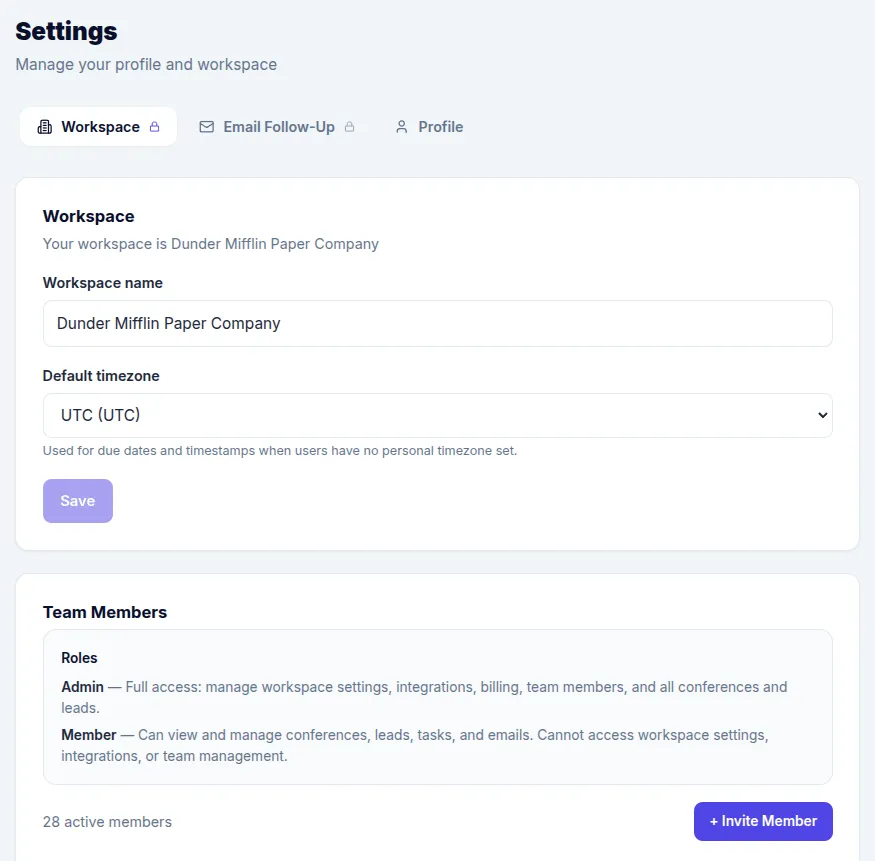
Roles & Permissions
Admin — Full access including integrations, billing, and team management
Member — Can create conferences, manage leads, tasks, and emails. Cannot access integrations or team settings
For more details on managing your team, see Team Management.
Next Steps
Once your workspace is set up and your team is invited, you're ready to create your first conference. Check out our Quick Start Guide for a step-by-step walkthrough.